Acer Extensa 710 driver and firmware
Drivers and firmware downloads for this Acer Computers item

Related Acer Extensa 710 Manual Pages
Download the free PDF manual for Acer Extensa 710 and other Acer manuals at ManualOwl.com
User Guide - Page 2
... in a retrieval system, or transmitted, in any form or by any means, electronic, mechanical, photocopy, recording, or otherwise, without the prior written permission of Acer Incorporated. Extensa Notebook Computer
Model___________Serial No Purchase Date
Extensa is a trademark and a product of Acer Inc., developed with Texas Instruments Inc. All other trademarks and registered trademarks are the...
User Guide - Page 3
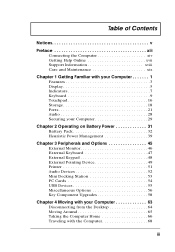
... Ports 21 Audio 28 Securing your Computer 29
Chapter 2 Operating on Battery Power 31
Battery Pack 32 Heuristic Power Management 39
Chapter 3 Peripherals and Options 45
External Monitor 46 External Keyboard 47 External Keypad 48 External Pointing Device 49 Printer 51 Audio Devices 52 Mini Docking Station 53 PC Cards 54 USB Devices 55 Miscellaneous Options 56 Key Component Upgrades...
User Guide - Page 4
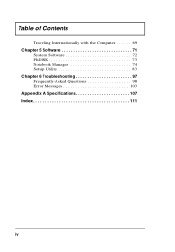
Table of Contents
Traveling Internationally with the Computer 69
Chapter 5 Software 71
System Software 72 PhDISK 73 Notebook Manager 74 Setup Utility 83
Chapter 6 Troubleshooting 97
Frequently-Asked Questions 98 Error Messages 103
Appendix A Specifications 107 Index 111
iv
User Guide - Page 5
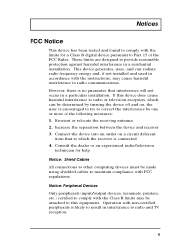
... which the receiver is connected 4. Consult the dealer or an experienced radio/television
technician for help
Notice: Shield Cables
All connections to other computing devices must be made using shielded cables to maintain compliance with FCC regulations.
Notice: Peripheral Devices
Only peripherals (input/output devices, terminals, printers, etc.) certified to comply with the Class B limits may be...
User Guide - Page 7
Notices
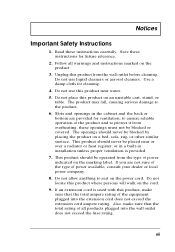
Important Safety Instructions
1. Read these instructions carefully. Save these instructions for future reference.
2. Follow all warnings and instructions marked on the product.
3. Unplug this...radiator or heat register, or in a built-in installation unless proper ventilation is provided.
7. This product should be operated from the type of power indicated on the marking label. If you are not ...
User Guide - Page 15
Preface
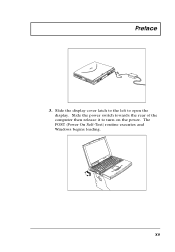
3. Slide the display cover latch to the left to open the display. Slide the power switch towards the rear of the computer then release it to turn on the power. The POST (Power On Self-Test) routine executes and Windows begins loading.
xv
User Guide - Page 16
Preface
Note: To turn off the power, press the power switch for more than four seconds. If you are using Windows 98 or Windows 95 operating system, we recommend that you use the Shutdown command to turn off the computer. If you turn off the computer and want to turn it on again, wait at least two seconds before powering up.
xvi
User Guide - Page 51
... 32 Battery Pack Characteristics 32 Installing and Removing the Battery Pack . . . . 33 Charging the Battery 34 Charging Modes 34 Checking the Battery Level 35 Using the Windows Battery Meter 35 Optimizing Battery Life 36 Battery-low Warning 37
Heuristic Power Management 39 Power Management Modes 40 Display Standby Mode 40 Hard Disk Standby Mode 40 Peripheral...
User Guide - Page 55
...Pack
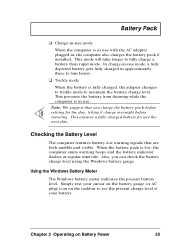
u Charge-in-use mode
When the computer is in use with the AC adapter plugged in, the computer also charges the battery pack if installed. This mode will take longer to fully ... the computer emits warning beeps and the battery indicator flashes at regular intervals. Also, you can check the battery charge level using the Windows battery gauge.
Using the Windows Battery Meter
The Windows battery ...
User Guide - Page 64
... about APM under Windows 98 or Windows 95, refer to your Windows 98 or Windows 95 user's manual.
Note: If you enable heuristic power management in Setup without APM installed and enabled (true by default), the system time and date do not display the correct settings after the computer returns to normal operation from Standby or Hibernation mode. To update the time...
User Guide - Page 65
... Serial Mouse 50 Printer 51 Audio Devices 52 Mini Docking Station 53 PC Cards 54 USB Devices 55 Miscellaneous Options 56 Additional Power Packs 56
Battery Pack 56 AC Adapter 56 Cables 56 PS/2 Y-Bridge Cable 56 File Transfer Cable 57 Key Component Upgrades 58 Memory Upgrade 58 Memory Configurations 58 Installing Memory 59 Hard Disk Upgrade 61 Installing a Replacement Hard Disk...
User Guide - Page 79
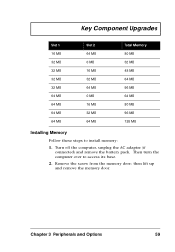
... MB 80 MB 96 MB 128 MB
Installing Memory
Follow these steps to install memory:
1. Turn off the computer, unplug the AC adapter (if connected) and remove the battery pack. Then turn the computer over to access its base.
2. Remove the screw from the memory door; then lift up and remove the memory door.
Chapter 3 Peripherals and Options
59
User Guide - Page 81
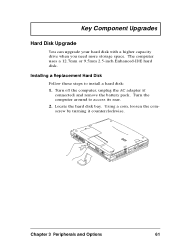
Key Component Upgrades
Hard Disk Upgrade
You can upgrade your hard disk with a higher capacity drive when you need more storage space. The computer uses a 12.7mm or 9.5mm 2.5-inch Enhanced-IDE hard disk.
Installing a Replacement Hard Disk
Follow these steps to install a hard disk: 1. Turn off the computer, unplug the AC adapter (if
connected) and remove the battery pack. Turn the computer around ...
User Guide - Page 92
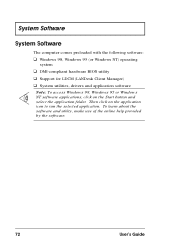
System Software
System Software
The computer comes preloaded with the following software:
u Windows 98, Windows 95 (or Windows NT) operating
system
u DMI-compliant hardware BIOS utility u Support for LDCM (LANDesk Client Manager) u System utilities, drivers and application software
Note: To access Windows 98, Windows 95 or Windows NT software applications, click on the Start button and select the ...
User Guide - Page 93
... you left off.
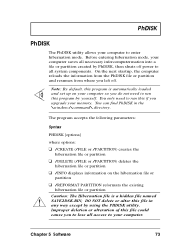
Note: By default, this program is automatically loaded and set up on your computer so you do not need to run this program by yourself. You only need to run this if you upgrade your memory. You can find PhDISK in the \windows\command\ directory.
The program accepts the following parameters:
Syntax
PHDISK...
User Guide - Page 107
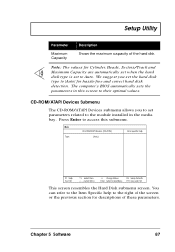
... automatically set when the hard disk type is set to Auto. We suggest you set the hard disk type to [Auto] for hassle-free and correct hard disk detection. The computer's BIOS automatically sets the parameters in this screen to their optimal values.
CD-ROM/ATAPI Devices Submenu
The CD-ROM/ATAPI Devices submenu allows you to set parameters related to the module installed in...
User Guide - Page 122
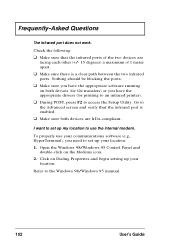
... both devices are IrDA-compliant.
I want to set up my location to use the internal modem.
To properly use your communications software (e.g., HyperTerminal), you need to set up your location: 1. Open the Windows 98/Windows 95 Control Panel and
double-click on the Modems icon. 2. Click on Dialing Properties and begin setting up your
location.
Refer to the Windows 98/Windows 95 manual...
User Guide - Page 132
... device in
Notebook Manager, 81 troubleshooting, 98, 99 DockMate V, 53
E
error messages, 103
F
FAQ. See frequently-asked questions
Fast Infrared. See infrared file transfer cable
connecting, 57
FIR. See infrared floppy disk
ejecting, 18 floppy drive, 18 frequently-asked questions, 98
H
hard disk, 18 installing, 61-62 power management, 40 upgrading, 61
help
Internet home page, xvii online manual...
User Guide - Page 133
... externally, 49 troubleshooting, 101
N
Notebook Manager, 74-82 Boot Sequence, 76 Display Device, 81 hot key, 12 Information Viewer, 75 Password, 77 Power Management, 80 starting, 74
num lock, 9 on indicator, 8
numeric keypad
embedded, 10
O
options
cables, 56 hard disk upgrade, 61 memory upgrade, 58 mini docking station, 53 PC Cards, 54 spare AC adapter, 56 spare battery, 56
Index
113
User Guide - Page 135
..., 7 status indicators, 7 storage, 18 floppy drive, 18 hard disk, 18
support
information, xviii s-video, 22
connecting, 46
T
time
setting in Setup Utility, 84 touchpad, 16
hot key, 13 using, 16-17
travel
international flights, 69 local trips, 68 troubleshooting, 97
turbo mode
hot key, 14
U
Universal Serial Bus, 22
USB
connecting, 55
USB. See Universal Serial Bus utility
BIOS Setup, 83-96 Notebook...