Acer ED246Y driver and firmware
Related Acer ED246Y Manual Pages
Download the free PDF manual for Acer ED246Y and other Acer manuals at ManualOwl.com
User Manual - Page 4
...power from the equipment, be sure to unplug the power cord from the electrical outlet.
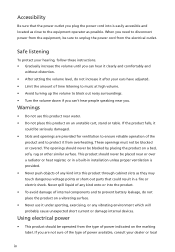
Safe listening
To protect your hearing, follow these instructions. • Gradually increase the volume until you can hear it clearly and comfortably and
without distortion. • After setting...in installation unless ...devices.
Using electrical power
• This product should be operated from the type of power...
User Manual - Page 8
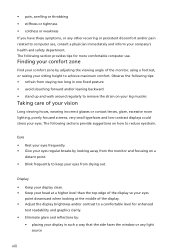
... safety department. The following section provides tips for more comfortable computer use.
Finding your comfort zone
Find your comfort zone by ...display. • Adjust the display brightness and/or contrast to a comfortable level for enhanced
text readability and graphics clarity. • Eliminate glare and reflections by:
• placing your display in such a way that the side faces the window...
User Manual - Page 9
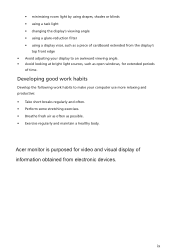
... work habits to make your computer use more relaxing and productive: • Take short breaks regularly and often. • Perform some stretching exercises. • Breathe fresh air as often as possible. • Exercise regularly and maintain a healthy body.
Acer monitor is purposed for video and visual display of information obtained from electronic devices.
ix
User Manual - Page 12
...IT Equipment Recycling Information
vi
Disposal instructions
vii
LCD pixel statement
vii
Tips and information for comfortable use
vii
Declaration of Conformity
Federal Communications Commission
Declaration of Conformity
Unpacking
1
2
3
4
4
4
5
Standard timing table
7
Installation
8
Users controls
9
Adjusting the OSD settings
10
The Function page
12
Trouble shooting
17
User Manual - Page 16
...-flicker power LED.
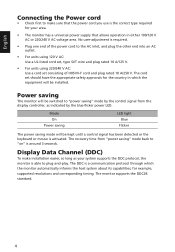
Mode On
Power saving
LED light Blue
Flicker
The power saving mode will be kept until a control signal has been detected or the keyboard or mouse is activated. The recovery time from "power saving" mode back to "on" is around 3 seconds.
Display Data Channel (DDC)
To make installation easier, so long as your system supports the...
User Manual - Page 20
English
*OTUBMMBUJPO
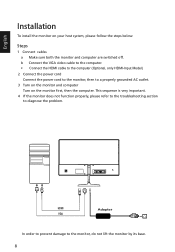
To install the monitor on your host system, please follow the steps below:
Steps
1 Connect cables a Make sure both the monitor and computer are switched off. b Connect the VGA video cable to the computer. c Connect the HDMI cable to the computer (Optional, only HDMI-Input Model)
2 Connect the power cord Connect the power cord to the monitor, then to a properly grounded...
User Manual - Page 25
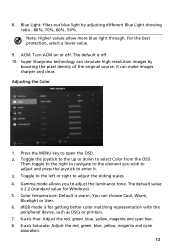
... on or off. The default is off. 10. Super Sharpness technology can simulate high-resolution images by
boosting the pixel density of the original source. It can make images sharper ...for Windows). 5. Color temperature: Default is warm. You can choose Cool, Warm, Bluelight or User. 6. sRGB mode is for getting better color matching representation with the peripheral device, such as DSCs or printers. 7....
User Manual - Page 27
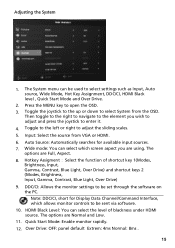
.... 5. Input: Select the source from VGA or HDMI. 6. Auto Source: Automatically searches for ...Drive) and shortcut keys 2 (Modes, Brightness, Input, Gamma, Contrast, Blue Light, Over Drive) 9. DDC/CI: Allows the monitor settings to be set through the software on the PC.
Note: DDC/CI, short for Display Data Channel/Command Interface, which allows monitor controls to be sent via software. 10. HDMI...