Samsung DV48J7770GP/A2 driver and firmware
Drivers and firmware downloads for this Samsung item
Related Samsung DV48J7770GP/A2 Manual Pages
Download the free PDF manual for Samsung DV48J7770GP/A2 and other Samsung manuals at ManualOwl.com
User Manual - Page 2
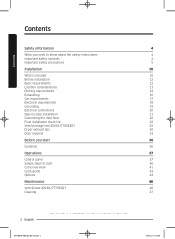
... Connecting the inlet hose Final installation check list Vent blockage test (DV48J7700E(G)*) Dryer exhaust tips Door reversal
Before you start
Guideline
Operations
Control panel Simple steps to start Cycle overview Cycle guide Options
Maintenance
Vent Sensor (DV48J7770E(G)*) Cleaning
2 English
SAVE THESE INSTRUCTIONS
%7+2@&/64JOEE
4 4 4 5 10 10 12 12 13 14 16 17 18...
User Manual - Page 4
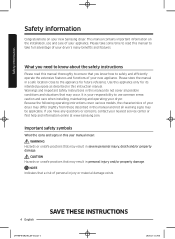
..., caution and care when installing, maintaining and operating your dryer. Because the following operating instructions cover various models, the characteristics of your dryer may differ slightly from those described in this manual and not all warning signs may be applicable. If you have any questions or concerns, contact your nearest service center or find help...
User Manual - Page 5
...and others. Please follow them explicitly. After reading this manual, store it in a safe place for future reference.
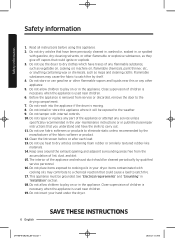
Read all instructions before using the appliance. As with any equipment that... • To reduce the risk of severe injury or death, follow all installation instructions. • Save these instructions.
Important safety precautions
WARNING To reduce the risk of fire, electric shock,...
User Manual - Page 6
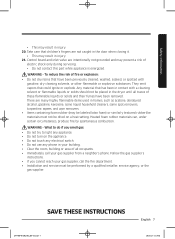
... is moving. 8. Do not install or store this appliance where it will be exposed to the weather. 9. Do not tamper with internal controls. 10. Do not repair or replace any part of the appliance or attempt any service unless specifically recommended in the user-maintenance instructions or in published userrepair instructions that you understand and...
User Manual - Page 7
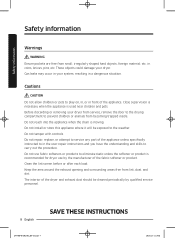
...Control board and inlet valve are intentionally not grounded and may present a risk of
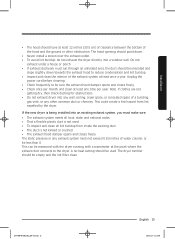
electric shock only during servicing...must not be dried on a heat setting. Heated foam rubber materials can, ...phone. Follow the gas supplier's
instructions. • If you cannot reach your gas supplier, call the fire department. • Installation and service must be performed by a qualified installer, service...
User Manual - Page 8
... when the drum is moving. Do not install or store this appliance where it will be exposed to the weather. Do not tamper with controls. Do not repair, replace, or attempt to service any part of the appliance unless specifically instructed to in the user-repair instructions and you have the understanding and skills to...
User Manual - Page 9
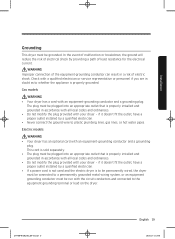
Safety information
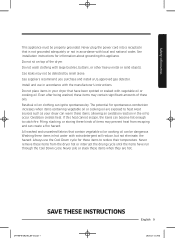
This appliance must be properly grounded. Never plug the power cord into a receptacle that is not grounded adequately or not in accordance with local and national codes. See installation instructions for information about grounding this appliance.
Do not sit on top of the dryer.
Do not wash clothing with large buckles, buttons...
User Manual - Page 10
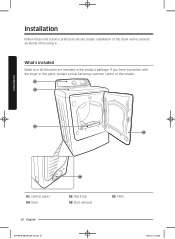
... these instructions carefully to ensure proper installation of the dryer and to prevent accidents when using it.
What's included
Make sure all the parts are included in the product package. If you have a problem with the dryer or the parts, contact a local Samsung customer center or the retailer.
01 02
03 04
01 Control...
User Manual - Page 11
Installation
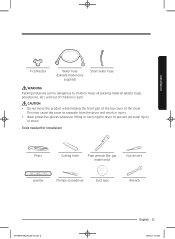
Y-connector
Water hose (Canada model only
supplied)
Short water hose
WARNING Packing materials can be ... whenever lifting or carrying the dryer to prevent personal injury
or strain.
Tools needed for installation
Pliers
Cutting knife
Pipe wrench (for gas model only)
Nut drivers
Leveller
Phillips screwdriver
Duct tape
Wrench
%7+2@&/64JOEE
English 11
User Manual - Page 12
...
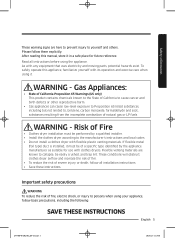
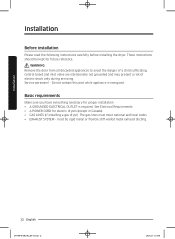
Please read the following instructions carefully before installing the dryer. These instructions should be kept for future reference.
WARNING Remove the door from all discarded appliances to avoid the danger of a child suffocating. Control board and inlet valve are intentionally not grounded and may present a risk of electric shock only during servicing. Service personnel - Do not contact...
User Manual - Page 13
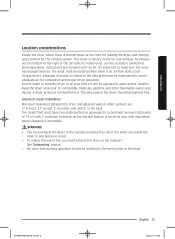
...loading the dryer, and enough space behind for the exhaust system. This dryer is factory-ready for rear exhaust. To exhaust out the bottom or the right or the left (electric model only), use the accessory exhaust kit (sold separately). Instructions... around the dryer should be kept lint free.
Alcove or closet installation
Minimum clearances between the dryer and adjacent walls or other surfaces are...
User Manual - Page 14

...
Weather hood type
Recommended
Use only for short-run installation
Installation
No. of 90° elbows 0 1 2 3
4" (10.2 cm)
Rigid
Metallic flexible*
80 ft. (24.4 m) 41 ft. (...thin foil wall. Serious blockage can result if the flexible metal duct is bent too sharply. • Never install any type of flexible duct in walls, ceilings, or other concealed spaces. • Keep the exhaust duct ...
User Manual - Page 15
....
• Never install a screen over the exhaust outlet. • To avoid lint buildup, do not exhaust the dryer directly into a window well. Do not...interior of the exhaust system at least once a year. Unplug the
power cord before cleaning. • Check frequently to be sure the exhaust ... dryer. A no-heat setting should be used. The dryer tumbler should be empty and the lint ...
User Manual - Page 16
... Dryer Transition Duct. Use Subject 2158A. • See "Ducting requirements" in the "Installation" section for the maximum duct length and number of bends that can be used. •...use with the
appliance by the manufacturer shall be used. • See "Ducting requirements" in the "Installation" section for the maximum duct length and
number of bends. • The total length of flexible metal...
User Manual - Page 17
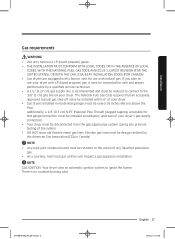
... (liquid propane) gas, it must be converted for safe and proper performance by a qualified service technician. • A 1/2" (1.27 cm) gas supply line is recommended and must be .... The National Fuel Gas Code requires that an accessible, approved manual gas shut-off valve be installed within 6" of your dryer. • Gas dryers installed in residential garages must be raised 18 inches (46 cm) ...
User Manual - Page 18
... install a UL-approved gas detector. • Install and use in accordance with the manufacturer's instructions.
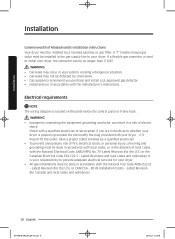
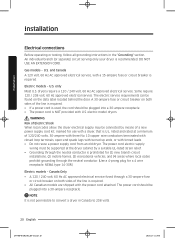
Electrical requirements
NOTE The wiring diagram is located on the plate below the control...codes and ordinances. It is your responsibility to provide adequate electrical services for your dryer. • All gas installations must be done in accordance with the national Fuel Code ANSI/...
User Manual - Page 19
...grounding conductor can result in a risk of electric shock. Check with a qualified electrician or service representative or personnel if you are in doubt as to whether the appliance is properly grounded.
... your dryer - if it doesn't fit the outlet, have a proper outlet installed by a qualified electrician. • If a power cord is not used and the electric dryer is to be permanently wired, the...
User Manual - Page 20
..., or with tinned leads. • Do not reuse a power supply cord from an old dryer. The power cord electric supply
wiring must be supported at the dryer cabinet by a suitable UL-listed strain relief. • Grounding through the neutral conductor is prohibited for (1) new branch-circuit
installations, (2) mobile homes, (3) recreational vehicles, and (4) areas where local...
User Manual - Page 21
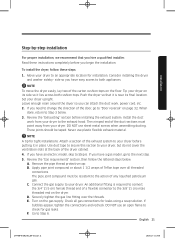
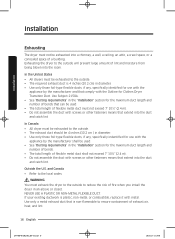
...installation
For proper installation, we recommend that you hire a qualified installer. Read these instructions completely before you begin the installation.
To install the dryer, follow these steps:
1. Move your dryer to an appropriate location for installation. Consider installing... location. Set your dryer upright. Leave enough room around the dryer so you can attach the duct work, power cord, ...
User Manual - Page 22
Installation
Installation
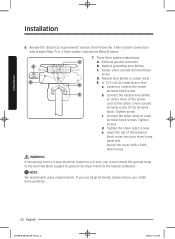
6. Review the "Electrical requirements" section, then follow the 3 Wire system connection instructions (Step 7) or 4 Wire system instructions (Step 8) below.
7. Three Wire system instructions:
C
A. External ...3-wire, you must connect the ground strap to the terminal block support to ground the dryer frame to the neutral conductor.
NOTE We recommend using ring ...