Asus VivoPC VM42 driver and firmware
Related Asus VivoPC VM42 Manual Pages
Download the free PDF manual for Asus VivoPC VM42 and other Asus manuals at ManualOwl.com
Warranty Card English/Thai/Turkish - Page 3
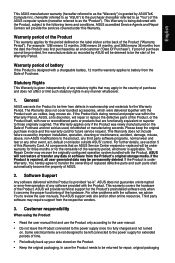
... failure caused by improper installation, operation, cleaning or maintenance, accident, damage, misuse, abuse, non-ASUS modifications to the product, any third party software programs, normal wear and tear or any other event, act, default or omission outside ASUS' control. For further details, see section 5 of this Warranty Card. All components that an ASUS Service Center repaired or replaced...
Warranty Card English/Thai/Turkish - Page 4
... support hotline phone number can be found at http://www.asus.com/support.
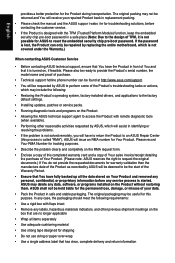
• You will be requested by ASUS to perform some of the Product's troubleshooting tasks or actions, which may include the following:
• Restoring the Product's operating system, factory-installed drivers, and applications to the factory default settings.
• Installing updates, patches or service packs...
Warranty Card English/Thai/Turkish - Page 5
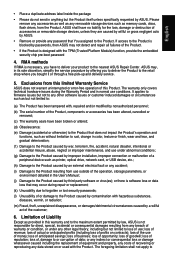
... malfunction of a peripheral device such as printer, optical drive, network card, or USB device, etc.;
(h) Damage to the Product caused by an external electrical fault or any accident;
(i) Damage to the Product resulting from use outside of the operation, storage parameters, or environment detailed in the User's Manual;
(j) Damage to the Product caused by third party software or virus(es); or...
VM62N Users manual English - Page 2
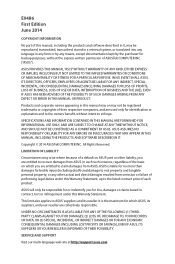
... ASUS. ASUS ASSUMES NO RESPONSIBILITY OR LIABILITY FOR ANY ERRORS OR INACCURACIES THAT MAY APPEAR IN THIS MANUAL, INCLUDING THE PRODUCTS AND SOFTWARE DESCRIBED IN IT.
Copyright © 2015 ASUSTeK COMPUTER INC. All Rights Reserved.
LIMITATION OF LIABILITY
Circumstances may arise where because of a default on ASUS' part or other liability, you are entitled to recover damages from ASUS...
VM62N Users manual English - Page 3
...
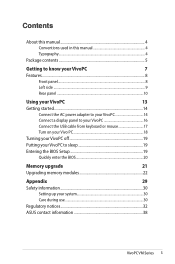
Connect the AC power adapter to your VivoPC 14
Connect a display panel to your VivoPC 16
Connect the USB cable from keyboard or mouse 17
Turn on your Vivo PC 18
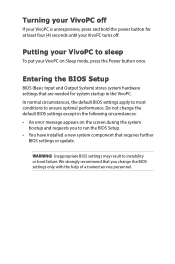
Turning your VivoPC off 19
Putting your VivoPC to sleep 19
Entering the BIOS Setup 19
Quickly enter the BIOS 20
Memory upgrade
21
Upgrading memory modules 22
Appendix
29
Safety information 30
Setting up your...
VM62N Users manual English - Page 4

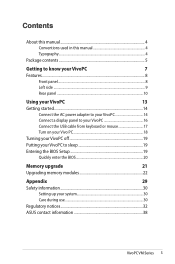
About this manual
This manual provides information about the hardware and software features of your PC, organized through the following chapters:
Chapter 1: Getting to know your VivoPC This chapter details the hardware components of your VivoPC.
Chapter 2: Using your VivoPC This chapter provides you with information on using your VivoPC.
Chapter 3: Memory upgrade This chapter provides you with ...
VM62N Users manual English - Page 19

...: • An error message appears on the screen during the system
bootup and requests you to run the BIOS Setup. • You have installed a new system component that requires further
BIOS settings or update.
WARNING! Inappropriate BIOS settings may result to instability or boot failure. We strongly recommend that you change the BIOS settings only with the help of a trained service personnel.
VM62N Users manual English - Page 20
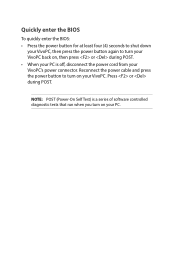
... on, then press or during POST. • When your PC is off, disconnect the power cord from your VivoPC's power connector. Reconnect the power cable and press the power button to turn on your VivoPC. Press or during POST.
NOTE: POST (Power-On Self Test) is a series of software controlled diagnostic tests that run when you turn on your PC.
VM62N Users manual English - Page 22

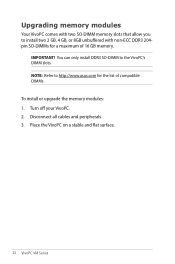
... 204pin SO-DIMMs for a maximum of 16 GB memory.
IMPORTANT! You can only install DDR3 SO-DIMM to the VivoPC's DIMM slots. NOTE: Refer to http://www.asus.com for the list of compatible DIMMs. To install or upgrade the memory modules: 1. Turn off your VivoPC. 2. Disconnect all cables and peripherals. 3. Place the VivoPC on a stable and flat surface.
22...
VM62N Users manual English - Page 27

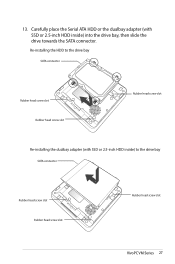
... Serial ATA HDD or the dualbay adapter (with SSD or 2.5-inch HDD inside) into the drive bay, then slide the drive towards the SATA connector.
Re-installing the HDD to the drive bay
SATA connector
Rubber head screw slot Rubber head screw slot
Rubber head screw slot
Re-installing the dualbay adapter (with SSD or 2.5-inch HDD inside) to the drive bay
SATA...
VM62N Users manual English - Page 32
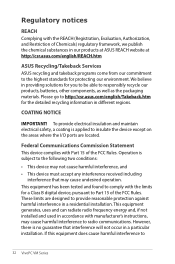
...at ASUS REACH website at http://csr.asus.com/english/REACH.htm
ASUS Recycling/Takeback Services
ASUS recycling ... device except on the areas where the I/O ports are located.
Federal Communications Commission Statement
This device ...digital device, pursuant to Part 15 of the FCC Rules. These limits are designed to provide reasonable protection against harmful interference in a residential installation...
VM62N Users manual English - Page 33
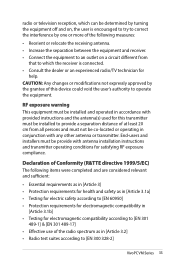
radio or television reception, which can be ...TV technician for
help. CAUTION: Any changes or modifications not expressly approved by the grantee of this device could void the user's authority to operate the equipment.
RF exposure warning This equipment must be installed and operated in accordance with provided instructions... • Radio test suites according to [EN 300 328-2]
VivoPC VM Series 33
VM Series Users Manual English - Page 2
... ASUS. ASUS ASSUMES NO RESPONSIBILITY OR LIABILITY FOR ANY ERRORS OR INACCURACIES THAT MAY APPEAR IN THIS MANUAL, INCLUDING THE PRODUCTS AND SOFTWARE DESCRIBED IN IT.
Copyright © 2014 ASUSTeK COMPUTER INC. All Rights Reserved.
LIMITATION OF LIABILITY
Circumstances may arise where because of a default on ASUS' part or other liability, you are entitled to recover damages from ASUS...
VM Series Users Manual English - Page 3
...
Connect the AC power adapter to your VivoPC 14
Connect a display panel to your VivoPC 16
Connect the USB cable from keyboard or mouse 17
Turn on your Vivo PC 18
Turning your VivoPC off 19
Putting your VivoPC to sleep 19
Entering the BIOS Setup 19
Quickly enter the BIOS 20
Memory upgrade
21
Upgrading memory modules 22
Appendix
29
Safety information 30
Setting up your...
VM Series Users Manual English - Page 4

About this manual
This manual provides information about the hardware and software features of your PC, organized through the following chapters:
Chapter 1: Getting to know your VivoPC This chapter details the hardware components of your VivoPC.
Chapter 2: Using your VivoPC This chapter provides you with information on using your VivoPC.
Chapter 3: Memory upgrade This chapter provides you with ...
VM Series Users Manual English - Page 19
...: • An error message appears on the screen during the system
bootup and requests you to run the BIOS Setup. • You have installed a new system component that requires further
BIOS settings or update.
WARNING! Inappropriate BIOS settings may result to instability or boot failure. We strongly recommend that you change the BIOS settings only with the help of a trained service personnel.
VM Series Users Manual English - Page 20

... on, then press or during POST. • When your PC is off, disconnect the power cord from your VivoPC's power connector. Reconnect the power cable and press the power button to turn on your VivoPC. Press or during POST.
NOTE: POST (Power-On Self Test) is a series of software controlled diagnostic tests that run when you turn on your PC.
VM Series Users Manual English - Page 22
... 204pin SO-DIMMs for a maximum of 16 GB memory.
IMPORTANT! You can only install DDR3 SO-DIMM to the VivoPC's DIMM slots. NOTE: Refer to http://www.asus.com for the list of compatible DIMMs. To install or upgrade the memory modules: 1. Turn off your VivoPC. 2. Disconnect all cables and peripherals. 3. Place the VivoPC on a stable and flat surface.
22...
VM Series Users Manual English - Page 27
... Serial ATA HDD or the dualbay adapter (with SSD or 2.5-inch HDD inside) into the drive bay, then slide the drive towards the SATA connector.
Re-installing the HDD to the drive bay
SATA connector
Rubber head screw slot Rubber head screw slot
Rubber head screw slot
Re-installing the dualbay adapter (with SSD or 2.5-inch HDD inside) to the drive bay
SATA...
VM Series Users Manual English - Page 32

...at ASUS REACH website at http://csr.asus.com/english/REACH.htm
ASUS Recycling/Takeback Services
ASUS recycling ... device except on the areas where the I/O ports are located.
Federal Communications Commission Statement
This device ...digital device, pursuant to Part 15 of the FCC Rules. These limits are designed to provide reasonable protection against harmful interference in a residential installation...